A no-bake graham cracker crust is so easy to make. It's the perfect option when you want a delicious pie but don't have much time. It's simple, tasty and so versatile.
I love pies, but I usually don't have time to prepare the dough for the crust. So for me, the perfect option is a no-bake graham cracker crust, which is flavorful, crunchy, and super easy to make.
Jump to:
Can I use other cookies besides graham crackers?
Graham crackers are perfect for making crumb crust. They even have different flavors like chocolate, honey and cinnamon, which are great for banana pudding or apple pie, for example. But, many other cookies can be used in place of graham crackers, like Biscoff, vanilla wafers, Marie cookies, shortbread, digestives... My suggestion is to use cookies that compliment the pie flavor.
How to make the crumbs
To transform your crackers into crumbs you can use a food processor, a blender or a self sealing bag ("Ziploc").
- If using a food processor, as soon as all crackers are pulverized, you can add the melted butter right there and give it a few more pulses to combine. This way it will be ready to be transferred to a pie plate.
- If you have just a blender you can use it too. Just stop a few times and use a spoon to move big pieces towards the blade to make sure everything gets crushed.
- When using a self sealing bag, add all crackers inside and make sure the bag is well closed. Pass a rolling pin over it many times, until you get very fine crumbs.
*Depending where you live you can also find ready to use graham cracker crumbs at the baking section in the supermarket.

How to make a graham cracker crust from scratch

Melt butter. 
Crush crackers until the crumbs are fine. 
Pour melted butter over crumbs. 
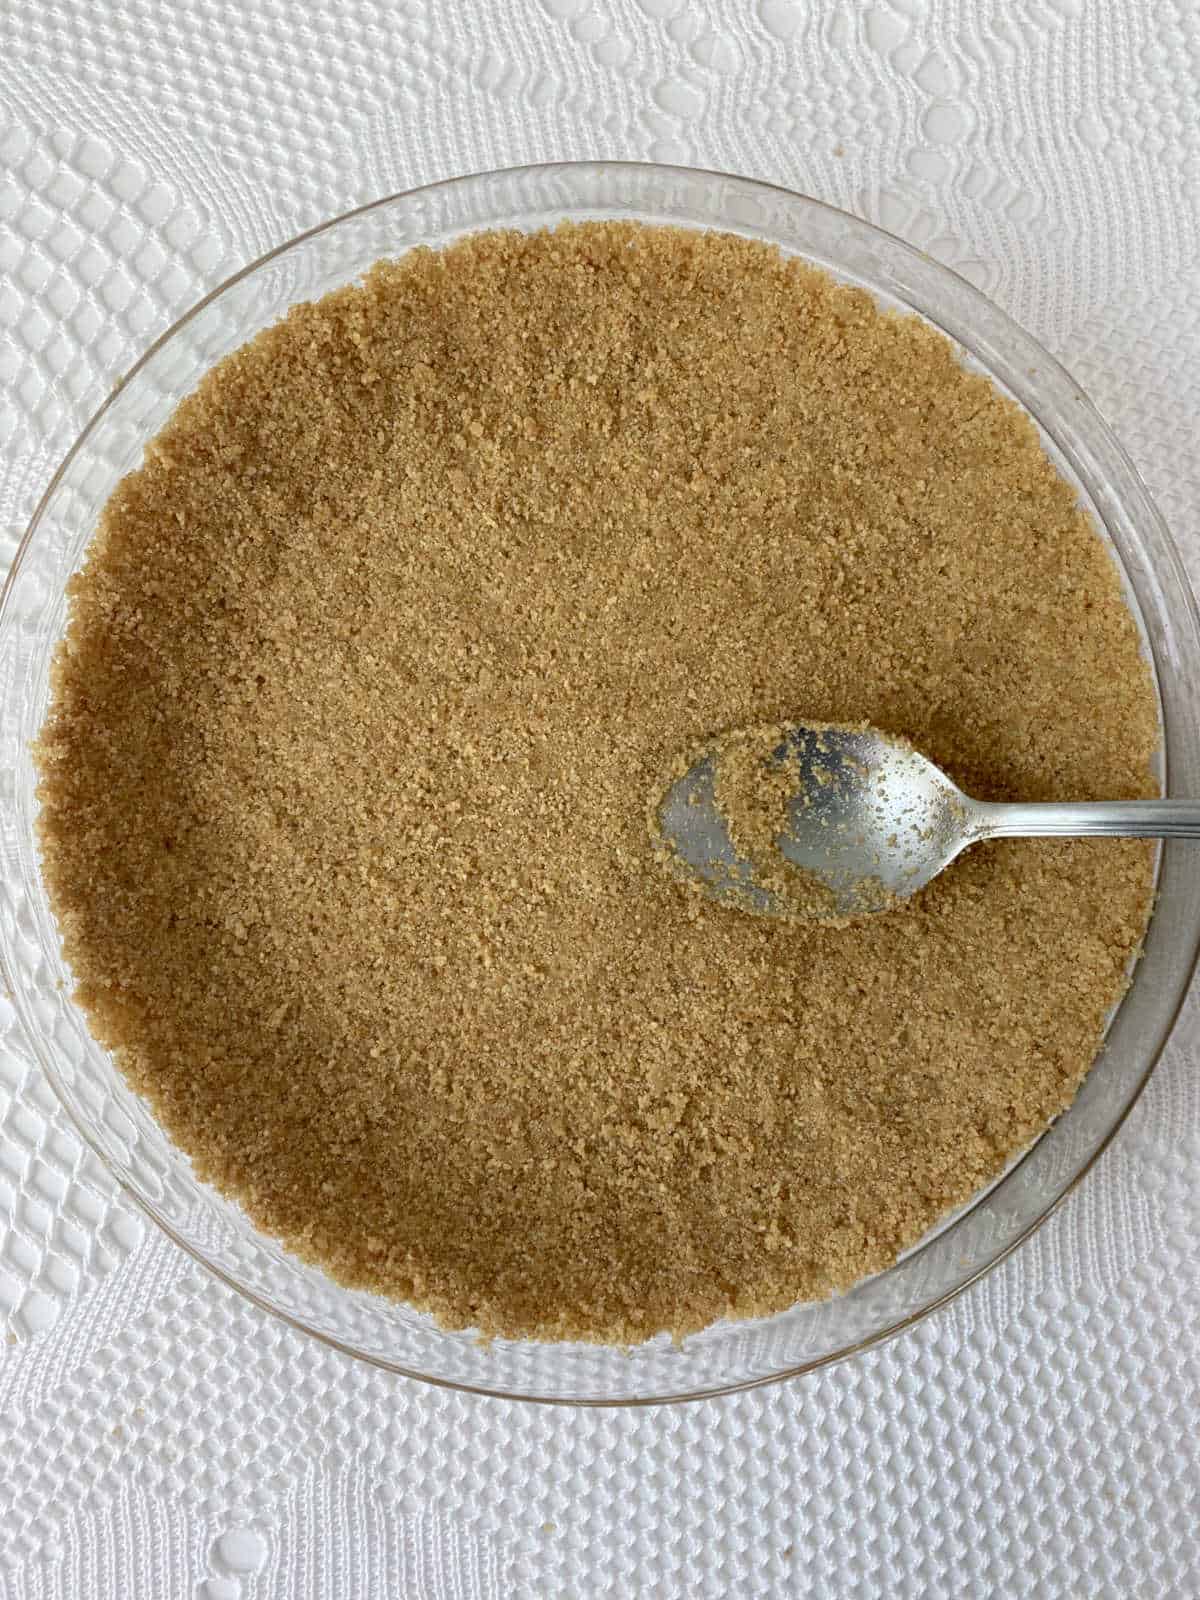
Mix crumbs and melted butter until it resembles wet sand. 
Transfer to a pie plate or a pan with removable bottom. 
Firmly press the crumbs with your fingers and/or spoon into the bottom and up the sides of the plate.
No-Bake or Bake?
Baking this crust is not necessary. You can simply take the crust to the fridge, between 30 and 60 minutes, and once the butter hardens it will hold the crumbs together.
Nevertheless, you can bake the crust if you prefer or need. You can pre-bake it or bake it with the filling. Just follow the instructions for the pie recipe you're using.
If you need to pre-bake the crust, bake it at 350ºF (180ºC) for about 8 minutes, or until you see that the crust is slightly browning on the edges. Let it cool before filling it.

Tips
If your crust is too crumbly - Some cookies need more butter than others, so if you don't add enough butter your crumbs won't be able to stick together, therefore making for a crumbly crust. The best way to tell if you need more butter is by feeling it with your hands. It should feel like wet sand and stick fairly well together as you press it in your hand or into the dish.
Pack it firmly - When pressing the crumbs in the pie plate make sure to press it firmly. I like to use my hands and the back of a spoon or the bottom of a cup. You don't need to use strength, just moderate pressure. This is very important for no-bake crusts.
Keep it refrigerated or frozen - Don't let the crust sit for too long at room temperature. If you know the pie will be out of the fridge for more than an hour, you might want to pre-bake it, so the crust can hold when cut through. Bake it at 350ºF (180ºC) for about 8 minutes and wait for it to cool before filling.
Measuring the crumbs - If using another type of cracker/cookies, other than Graham Crackers, go by the volume and not weight. Since some cookies are very heavy, 150 grams wouldn't be enough to cover the whole plate. So I recommend you crush enough cookies to get 1 ½ cup of crumbs, add the butter and feel it with your hands. If it's too dry and not packing well together, add a little bit more melted butter.
Adding sugar - Before adding the crumbs to the pie plate give it a taste. If you would like it sweeter you can add some sugar. Usually 1 to 3 tablespoons of sugar (granulated or brown) are enough.
Don't miss a recipe! Subscribe to our newsletter.
📖 Recipe / Receita
No-Bake Graham Cracker Crust
Ingredients
For a standard pie crust
- 1½ cups Graham Cracker crumbs (about 10 sheets or 150g)
- 7 tablespoons unsalted butter, melted (105g - measure and then melt)
- 1-2 tablespoons granulated or brown sugar (optional)
For a deep pie crust
- 2 cups Graham Cracker crumbs (about 13 sheets or 200g)
- 9 tablespoons unsalted butter, melted (135g - measure and then melt)
- 2-4 tablespoons granulated or brown sugar (optional)
Instructions
- With a spoon or fork, combine all ingredients in a bowl. At this point you can taste it and see if you want it sweeter. If you do, add sugar. Mix everything until it resembles wet sand.
- Transfer it to a 9" (23cm) pie plate or removable bottom pan, and distribute it evenly over the bottom and up the sides, pressing firmly with your fingers, spoon and/or bottom of a cup.
- Refrigerate for at least 30 minutes before filling.
Notes
- Pack the crumbs firmly but not super hard, or it might be difficult to remove the slices from the pan.
- Don't let the crust sit for too long at room temperature. If you know the pie will be out of the fridge for more than an hour, you might want to pre-bake it, so the crust can hold when cut through. Bake it at 350ºF (180ºC) for about 8 minutes.
- If you intend to remove the crust from the pan, a removable bottom pan is ideal.
Sharing is caring
Nutrition Estimate:
Nutritional disclaimer
All nutritional information above is based on third-party calculations and should be considered estimates. Nutritional content may vary according to brands used, measuring methods, portion sizes, substitutions, optional ingredients, etc. Simple Living Recipes is not responsible for any miscalculation or misinformation in the nutrition label.
More recipes you may like...


Follow us on Social Media!


Comments
No Comments